Try This Clever Seating Hack To Open Up So Much Space In Your Small RV
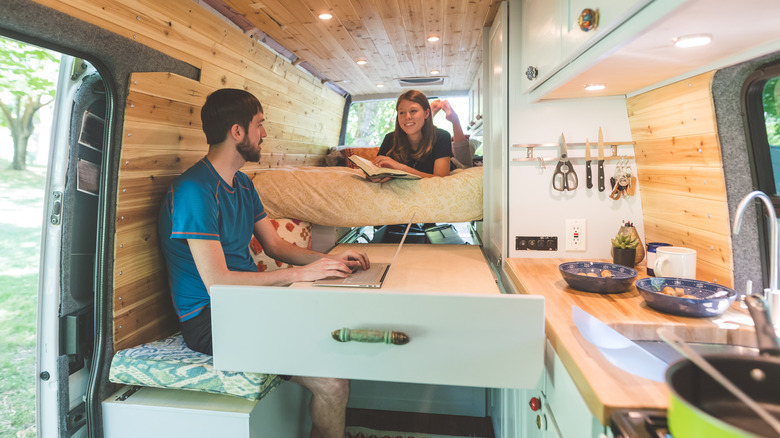
Whether you're living that RV life or prefer to use your camper for weekend road trips, chances are you'll need every square inch of storage space you can get. The good news is that crafty veteran RVers have a way of maximizing the space that's available, and we're here to share one of our favorites: turn every seat and surface available into hidden cargo space. From sneaky sofa storage to discreet dining area depositories, transforming standard camper seating into storage ottomans can also be one of the easiest modifications you can make to your RV.
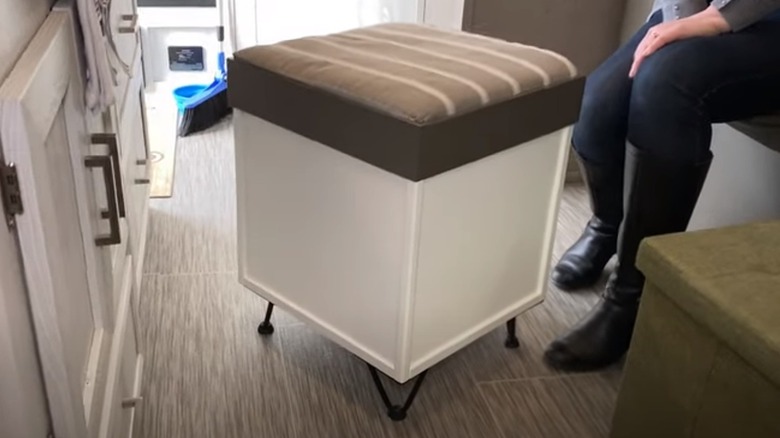
These secret stash spots make fantastic spaces for keeping things you don't need readily available out of sight until you need them. In an RV that's inconveniently short on space for pantry goods, a dining area storage ottoman is an ideal place to keep a stockpile of extra canned and dried food — particularly handy for longer road trippers. Or use your storage ottomans for things that don't fit well anywhere else, like shoes, must-have pool toys and outdoor accessories, or even dirty laundry. One of the simplest ways to add a storage ottoman or two to your RV is to pick one up at your local bath and bed or big box discount merchandise store like Target or Walmart. Or consider DIYing your own to perfectly fit the narrow aisles and awkward spaces of your RV.
Maximize your vertical RV storage
To make and install your own DIY benches, start by deciding where you want to add more storage space. Next, you'll need to remove any furnishings you plan to replace. RV furniture is generally bolted to the floor. To remove a sofa bed or captain's chairs from your rig, measure to find out if it will fit through the camper door or window or if you need to dismantle it. Use old sheets or a tarp over other appliances and other furnishings in your camper to protect them from any dust, dirt, and grease that kicks up. Grab some safety glasses, a ratchet and socket set, a power drill or screwdriver, a flashlight, and a bowl or cup for removed bolts. After removing any pillows or cushions, unbolt everything anchoring your furniture down. Once everything is successfully detached from the floor, consider donating it to a local nonprofit organization.
To build your ottoman bench, use a tutorial such as Chatfield Court's instructions for creating pine storage boxes or installing ready-to-go storage. To cut some of the work out of your DIY storage bench project, consider ordering simple wooden storage boxes from Amazon. To finish the project, attach a thick antimicrobial polyurethane foam to your lid panel using spray adhesive. Using a staple gun, pull the upholstery fabric of your choice over the top of your lid and generously staple it in place. Fix it to your bench using a continuous hinge, and install a toy box lid support on either side for safety. Pack your camping gear, and have a great trip!